CSS Flexbox and CSS Grid are very powerful layout functions. These are already supported by all modern browsers except for IE 11. Unlike properties for styling (for examplecolor and border), these are properties for building a layout structure. In other words, it is not used to beautify the surface of HTML elements but is used to create a foundation of application UI in cooperation with the hierarchical structure of HTML elements.
In Angular, it is common for a view of a component to be divided into template HTML and stylesheet CSS. Since the layout using Flexbox or Grid is closely related to the structure of HTML, it is not convenient that the layout settings are written in an external CSS file. So, it is a clever choice to define Flexbox and Grid settings in template HTML.
Does it mean we should use inline style attributes? No!
This article explains how to use the Angular Flex-Layout module to build flexbox layout in Angular templates and its hidden features.
Angular Flex-Layout
Angular Flex-Layout is an npm package made by Angular team officially.
https://www.npmjs.com/package/%40angular%2Fflex-layout
Angular Flex Layout provides a sophisticated layout API using Flexbox CSS + mediaQuery. This module provides Angular developers with component layout features using a custom Layout API, mediaQuery observables, and injected DOM flexbox-2016 CSS stylings.
Angular Flex-Layout provides some NgModules which exports directives. You can make a declarative layout structure by using Flexbox or CSS Grid.
Installation
Install the package with npm/yarn after creating a project with Angular CLI. Flex-Layout depends on Component DevKit (CDK), so you need additional installation if you haven’t installed it.
$ yarn add @angular/flex-layout @angular/cdkAnd add FlexLayoutModule into your AppModule.
import { NgModule } from "@angular/core";
import { BrowserModule } from "@angular/platform-browser";
import { FlexLayoutModule } from "@angular/flex-layout";

import { AppComponent } from "./app.component";
import { CardComponent } from "./card.component";

@NgModule({
  imports: [BrowserModule, FlexLayoutModule],
  declarations: [AppComponent, CardComponent],
  bootstrap: [AppComponent]
})
export class AppModule {}
Installation is done! 🎉 BTW, there is CardComponent in declarations of AppModule. It’s a component to display a simple card for the demonstration of Flexbox layout.
@Component({
  selector: "app-card",
  template: `
    <div>Card: {{ name }}</div>
  `,
  styles: [
    `
      :host {
        display: block;
        padding: 32px;
        border: 1px solid black;
        border-radius: 8px;
      }
    `
  ]
})
export class CardComponent {}
Making a Flexbox layout
We’re ready to make a component with Flexbox layouts! Let’s learn about Flexbox APIs of Angular Flex-Layout via some example cases.
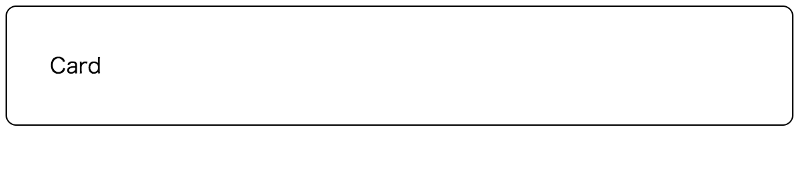
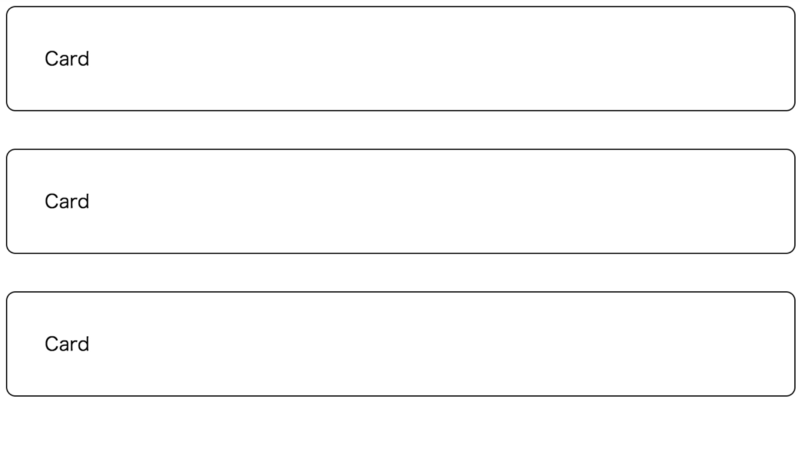
Example 1. Column-based card list
The best simple example is a column-based list. It can be implemented with plain CSS like below;
<style>
  .cardList {
    display: flex;
    flex-direction: column;
  }
  /* Row Gap */
  .cardList > *:not(:last-child) {
    margin-bottom: 32px;
  }
</style>

<div class="cardList">
  <app-card></app-card>
  <app-card></app-card>
  <app-card></app-card>
</div>
Flexbox container is defined with display: flex and its direction is defined with flex-directionproperty. To define the gap between each row, :not(:last-child) selector is needed because CSS’s Flexbox doesn’t support gap size configuration. It’s a bit verbose styling.
With Angular Flex-Layout, the same layout will be implemented as following template;
<div fxLayout="column" fxLayoutGap="32px">
  <app-card></app-card>
  <app-card></app-card>
  <app-card></app-card>
</div>
As you can see, there is a Flexbox container with fxLayout="column" and configuration of it. Isn’t it intuitive? In the above example, 2 directives are used to create a Flexbox container.
-
fxLayout=”column”—Corresponding todisplay: flexandflex-direction.
Create a new Flexbox container and setting its direction -
fxLayoutGap=”32px”—Corresponding tomargin-bottom: 32px
for each child except the last.
Configure the gap size between each item
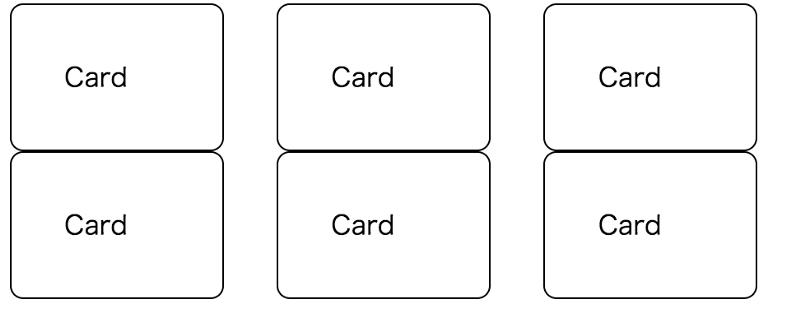
Example 2. Row-based card list
Another example is a row-based card list with 3 columns. It’s a common UI pattern used with small cards.
To implement that with plain CSS, the template will become like below;
<style>
  .cardList {
    display: flex;
    flex-direction: row;
    flex-wrap: wrap;
    justify-content: flex-start;
  }
  /* Column Gap */
  .cardList > * {
    box-sizing: border-box;
  }
  .cardList > *:not(:last-child) {
    margin-right: 32px;
  }
  /* Item sizing */
  .cardListItem {
    flex: 0 1 calc(33.3% - 32px);
  }
</style>

<div class="cardList">
  <ng-container *ngFor="let _ of [1,2,3,4,5,6]">
    <app-card class="cardListItem"></app-card>
  </ng-container>
</div>
And rewritten template with Angular Flex-Layout is the below;
<div fxLayout="row wrap" fxLayoutGap="32px" fxLayoutAlign="flex-start">
  <ng-container *ngFor="let _ of [1,2,3,4,5,6]">
    <app-card fxFlex="0 1 calc(33.3% - 32px)"></app-card>
  </ng-container>
</div>
It’s very cool! 😎 In this case, there is a container with fxLayout="row wrap" . ThefxLayout directive can take a wrapping configuration as the second parameter. And I added thefxFlex directive for each element to adjust its width to align as 3 columns.
-
fxLayoutAlign=”flex-start”— Corresponding tojustify-content: flex-start.
Configure alignment of the Flexbox container -
fxFlex="1 0 auto"— Corresponding toflex: 1 0 auto.
Configure its CSSflexproperties
Responsive APIs
The previous row-based example has a problem with the mobile viewport. Let’s make its card size responsive!
To implement this, you have to use CSS media queries and define breakpoints in order to determine which size is small or medium. A natural implementation may become like below;
<style>
  .cardList {
    display: flex;
    flex-direction: row;
    flex-wrap: wrap;
    justify-content: flex-start;
  }
  /* Column Gap */
  .cardList > * {
    box-sizing: border-box;
  }
  .cardList > *:not(:last-child) {
    margin-right: 32px;
  }
  /* Item sizing */
  .cardListItem {
    flex: 0 1 calc(33.3% - 32px);
  }
  /* medium size viewport */
  @media screen and (max-width: 959px) {
    /* Column Gap */
    .cardList > *:not(:last-child) {
      margin-right: 32px;
    }
    /* Item sizing */
    .cardListItem {
      flex: 0 1 calc(50% - 32px);
    }
  }
  /* small size viewport */
  @media screen and (max-width: 599px) {
    .cardList {
      display: flex;
      flex-direction: column;
      justify-content: flex-start;
    }
    .cardList > *:not(:last-child) {
      margin-right: unset;
      margin-bottom: 32px;
    }
  }
</style>
I’m not sure how long time I can maintain this CSS… 😇
Don’t worry! Angular Flex-Layout also provides APIs to support responsive UI! You don’t have to install any additional modules. Angular Flex-Layout supports Responsive APIs as an enhancement of Static APIs.
Angular Flex-Layout directives can take a breakpoint alias as the syntax; <directive>.<breakpoint alias>. For example, fxLayout.lt-sm="column" will be applied only when the viewport is less than small. This enhancement gives us a very maintainable code which is easy to read and write.
Here is the rewritten code. Super simple and declarative!
<div
  fxLayout="row wrap"
  fxLayout.lt-sm="column"
  fxLayoutGap="32px"
  fxLayoutAlign="flex-start"
>
  <ng-container *ngFor="let _ of [1,2,3,4,5,6]">
    <app-card
      fxFlex="0 1 calc(33.3% - 32px)"
      fxFlex.lt-md="0 1 calc(50% - 32px)"
      fxFlex.lt-sm="100%"
    ></app-card>
  </ng-container>
</div>
Each child element has new fxFlex.lt-md and fxFlex.lt-sm directives to configure the card size for each viewport size. As a result, the component displays 2 columns when the small-medium size and a single column when less than the small size. Not only these, but all flexbox directives support the same responsive APIs.
Grid APIs
So far, the card list is aligned well but the card itself is still almost blank. Finally, let’s add Grid layout inside each card!

Grid Layout in the card
The example implementation is the below (coloring part is not shown). The Grid container has 4 areas; header, side, content, and footer. Each area is defined with [style.grid-area] style binding.
<style>
  .cardInner {
    display: grid;
    grid-template-areas: "header header" "side content" "footer footer";
    grid-template-rows: auto auto auto;
    grid-row-gap: 16px;
    grid-column-gap: 16px;
  }
</style>

<div class="cardInner">
  <div [style.grid-area]="'header'">
    Header
  </div>

  <div [style.grid-area]="'side'">
    Side
  </div>

  <div [style.grid-area]="'content'">
    Content
  </div>

  <div [style.grid-area]="'footer'">
    Footer
  </div>
</div>
To use Grid directives, any additional setup isn’t needed. Once installed FlexLayoutModule , all APIs are available. Rewritten code is the below;
<div
  gdAreas="header header | side content | footer footer"
  gdGap="16px"
  gdRows="auto auto auto"
>
  <div gdArea="header">
    Header
  </div>

  <div gdArea="side">
    Side
  </div>

  <div gdArea="content">
    Content
  </div>

  <div gdArea="footer">
    Footer
  </div>
</div>
Look at the Grid container. gdAreas and gdRows directives correspond to grid-template-areas and grid-template-rows CSS property. Gap sizes are set with the same gdGap directive. Each area is defined with gdArea directive.
It’s notable that Grid directives also support the responsive enhancement as well as Flexbox! For example, the following template changes the card layout to a vertical column only in a narrow viewport. Updates are only two lines!
<div
  gdAreas="header header | side content | footer footer"
  gdGap="16px"
  gdRows="auto auto auto"
  gdAreas.lt-md="header | side | content | footer"
  gdRows.lt-md="auto auto auto auto"
>
  ...
</div>
Grid APIs are experimental!
Angular Flex-Layout’s Grid APIs are not documented officially, yet. Probably, some APIs will be changed. Be careful to use in production!
Takeaways
- Angular Flex-Layout is an official package to use CSS Flexbox/Grid in the template HTML declaratively.
- It also provides a support for building the responsive UI with simple template syntax.
Links
- Can I Use: Flexbox / Grid
- GitHub repo
- Documentation Wiki
- Stackblitz of this article